And that's all there is to it!!
Remember to draw your lines on both sides of the egg. When you are satisfied with the appearance of your lines, move ahead to white.
 |
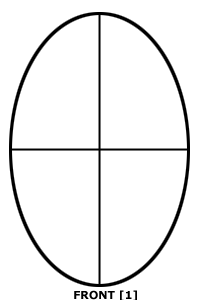
Front (1) shows the egg divided into eighths. You start by drawing one long line around the longest part of the egg, until it meets up with itself. Next, draw a long line at a right angle to this one, until it meets up with itself. Lastly, draw one line around the middle of the egg. Now the egg is divided into 8 equal sized parts. |
 |
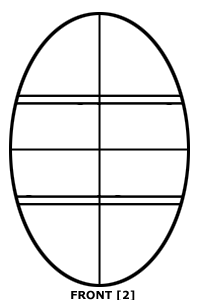
Front (2). The egg is divided horizontally by 2 parallel lines, above and below the middle dividing line. |
 |
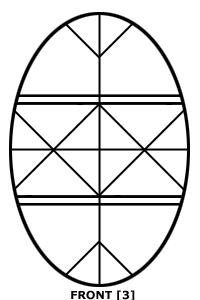
Front (3). Now, draw the large diamonds around the middle of the egg, and at the top and bottom of the egg. |
 |
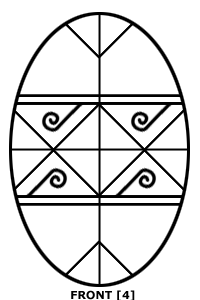
Front (4): add the curls. |
 |
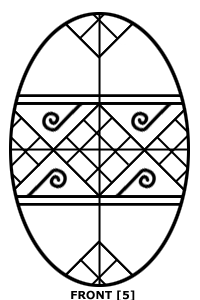
At this point, you can (Front (5)) add the additional guidelines to help
you.
And that's all there is to it!! Remember to draw your lines on both sides of the egg. When you are satisfied with the appearance of your lines, move ahead to white. |